Google has said for some time that it believes the future of on-line security is with passkeys (Google Passkey), which replace conventional alphanumeric passwords. It delivered assist for passkeys throughout Google services in advance this 12 months, however now, it’s positioning passkeys as the default login technique for private Google bills. in view that it’s nearly impossible to bear in mind all those passwords your self, so the majority emerge as the usage of the same password across many bills or making use of the quality password managers.
What is Passkey?
Alternative authentication techniques known as passkeys were created by the FIDO Alliance, a business alliance backed by significant IT corporations. Compared to common two-factor authentication, which relies on passwords and codes sent to phone numbers, passkeys provide a simpler and more secure option. FIDO’s security keys replace passwords with a passkey that is not vulnerable to the same attacks as both passwords and SMS verification codes.
In simpler terms, a passkey is an authentication method linked to the passcode or biometric security of another device, such as Face ID on an iPhone or facial recognition on an Android phone. Your face or fingerprint authenticates your identity on your device, and a passkey is then transmitted to the service you’re attempting to access. This provides a simplified authentication method and improves security by decreasing dependence on quickly cracked passwords.
How to Make Google Safer: Use a Passkey!
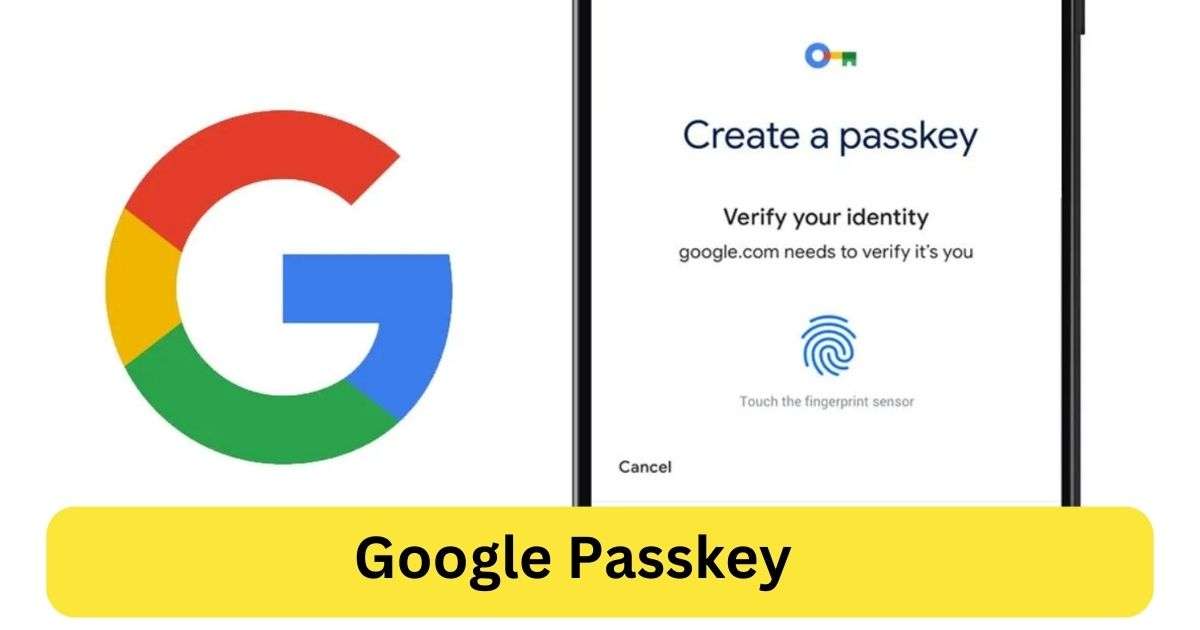
In today’s online world, keeping your stuff safe is really important. Google has a cool thing called a “passkey” that helps make your account extra safe. This guide will help you understand how to set up a passkey for your Google account, so your personal info stays protected.
Why Use a Google Passkey?
Before we jump into the steps, let’s talk about why passkeys are cool. A Google passkey adds an extra lock to your account. It means that even if someone knows your password, they can’t get in unless they also have a special key. This makes it much harder for bad guys to mess with your stuff.
How to Get a Google Passkey?
Getting a Google Passkey is easy! Just follow these steps:
Step 1 Go to Your Security Settings: Log into your Google account and find the “Security” part in your settings.
Step 2 Turn on Two-Step Verification: Click on “Two-Step Verification” and follow the steps. You might need to do something extra, like putting in your password and confirming with your phone.
Step 3 Make Your Passkey: After turning on two-step verification, you can set up your passkey. Pick a passkey that you can remember but is tricky for others to guess.
Step 4 Check and Save: Confirm your passkey choice and save your changes.
Great job! Now your Google account has an extra lock with a passkey.
Common Questions About Google Passkeys:
Q1 How do I turn on passkeys in Chrome?
It’s easy! Just sign in to Chrome with your Google account, go to settings, then “Privacy and Security,” and turn on “Use a security key.”
Q2 How do I turn on passkeys in Google Workspace?
If you use Google Workspace, go to your Admin console, click on “Security,” then “Basic settings,” and turn on “Security keys” under “Two-Step Verification.”
Q3 How do I set up a Google passkey on my iPhone?
Get the Google Smart Lock app from the App Store, follow the steps, and you’ll have a passkey on your iPhone.
Q4 Does Gmail use passkey?
Yes! When you turn on two-step verification, your Gmail also gets the extra security of a passkey.
Q5 How do Google passkeys work?
Google passkeys need both your password and a physical key to let you in. This makes it super tough for someone to get into your account without the special key.
Also Read: – Android 14: Google’s New Features, Release dates and everything else you need to know